 +86 13794985240


0102030405


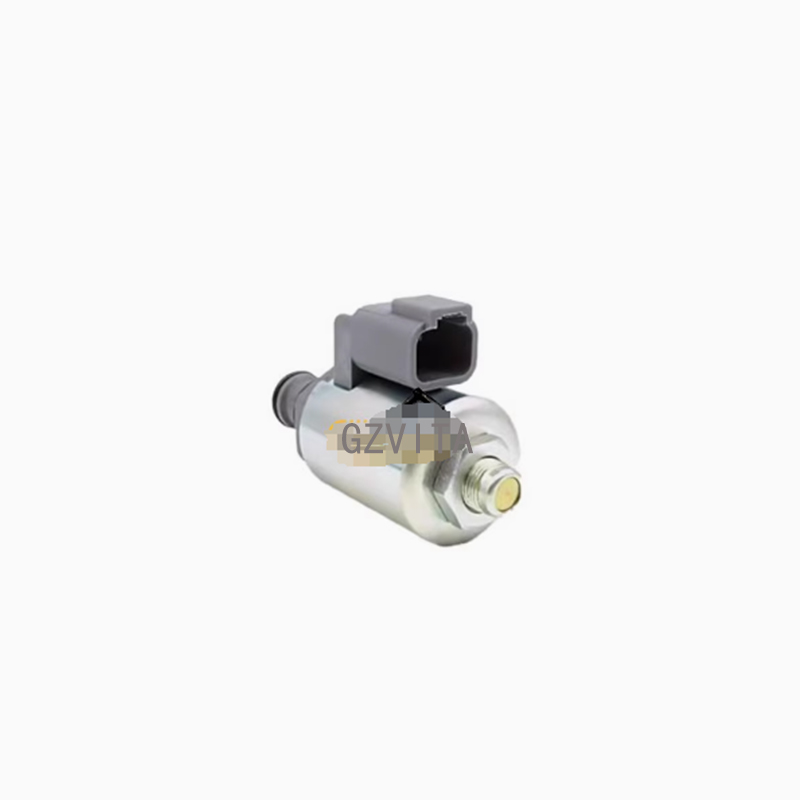
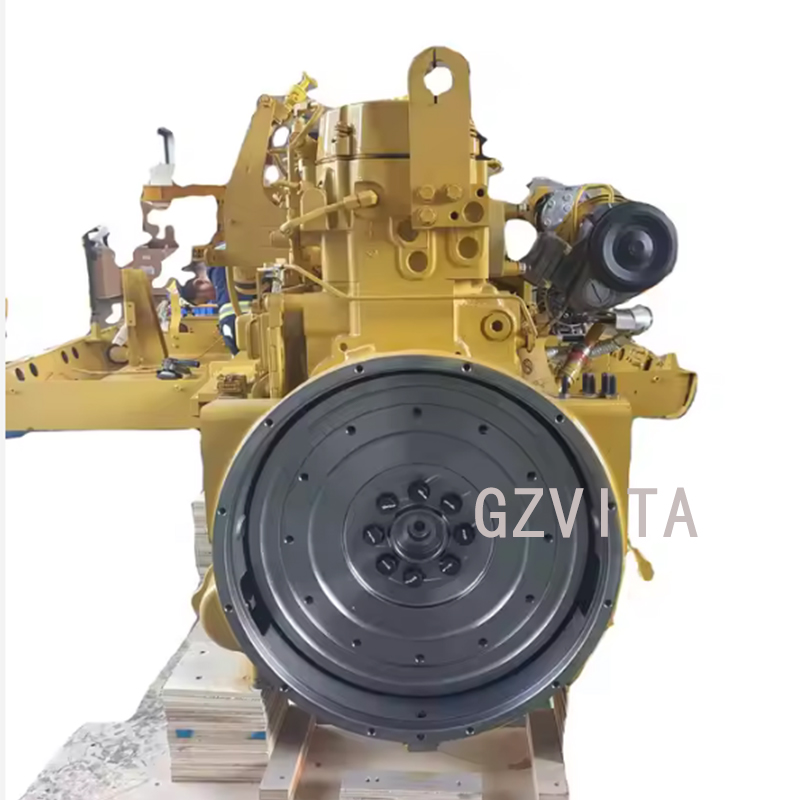
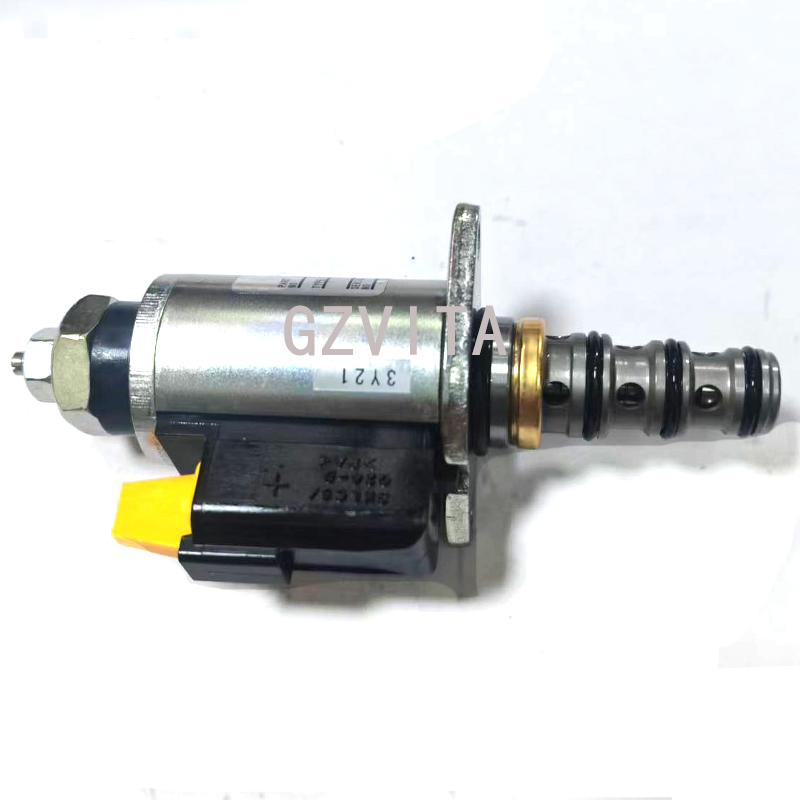
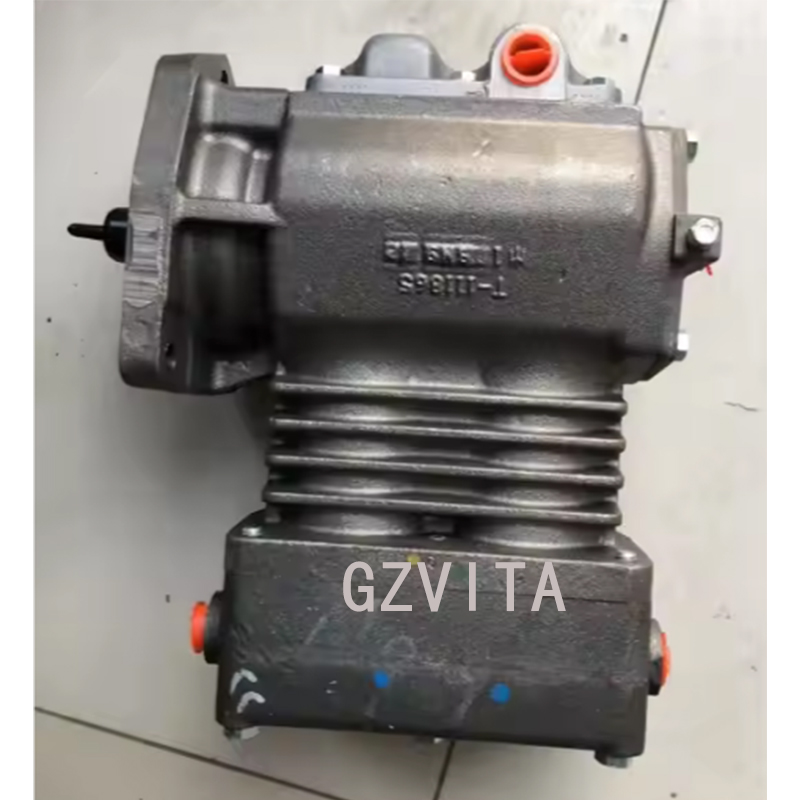
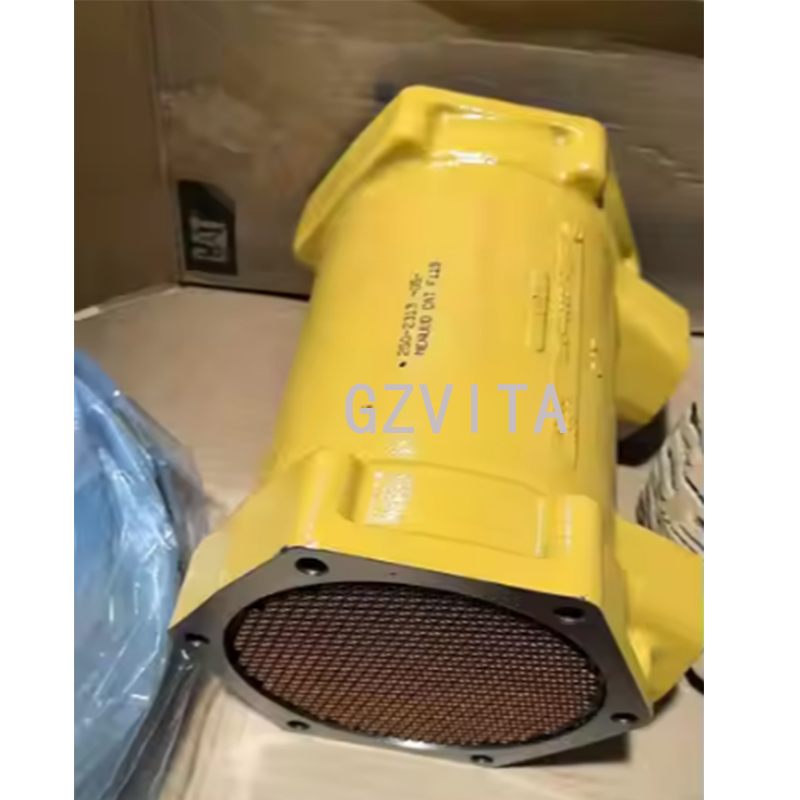
1753893 Solenoid Valve For CAT Grader 12H 12K 120H 143H
Product Details
Installing a solenoid valve is a critical task in various systems, including hydraulic, pneumatic, and irrigation applications. Here are some tips to ensure a successful installation:
Tips for Installing a Solenoid Valve
Read the Manufacturer’s Instructions:
Always start by reading the installation manual provided by the manufacturer. Different solenoid valves may have specific requirements or recommendations.
Choose the Right Location:
Install the solenoid valve in a location that is easily accessible for maintenance and inspection.
Ensure that the valve is positioned in a way that allows for proper drainage and avoids trapping moisture.
Check Compatibility:
Ensure that the solenoid valve is compatible with the fluid type, pressure, and temperature of your system. Verify the voltage and current ratings if it’s an electric solenoid.
Use Proper Tools:
Gather the necessary tools, such as wrenches, screwdrivers, and pliers, before starting the installation. This will help streamline the process.
Prepare the Pipe or Fitting:
Clean the threads of the pipe or fitting where the solenoid valve will be installed. Remove any debris, dirt, or old sealant to ensure a good seal.
Apply Thread Sealant:
If required, apply thread sealant or Teflon tape to the threads of the solenoid valve to prevent leaks. Be careful not to overapply, as this can lead to debris entering the system.
Install the Valve:
Screw the solenoid valve into the pipe or fitting by hand, then use a wrench to tighten it securely. Avoid overtightening, which can damage the valve or fittings.
Check Flow Direction:
Ensure that the solenoid valve is installed in the correct flow direction. Most valves have an arrow indicating the direction of flow; make sure it aligns with your system.
Electrical Connections:
If the solenoid valve is electrically operated, connect the electrical wires according to the manufacturer’s instructions. Ensure that the power supply is turned off during this process.
Use appropriate connectors and ensure that all connections are secure and insulated to prevent short circuits.
Test for Leaks:
Once the installation is complete, turn on the system and check for leaks around the solenoid valve. If you notice any leaks, turn off the system and tighten the connections as needed.
Test the Operation:
Activate the solenoid valve to ensure it opens and closes properly. Monitor its operation to confirm that it functions as intended.
Regular Maintenance:
Schedule regular maintenance checks to ensure the solenoid valve continues to operate efficiently. Look for signs of wear, corrosion, or leaks.
By following these tips, you can ensure a successful installation of a solenoid valve, leading to reliable operation in your system. If you encounter any issues or uncertainties, consider consulting a professional for assistance.
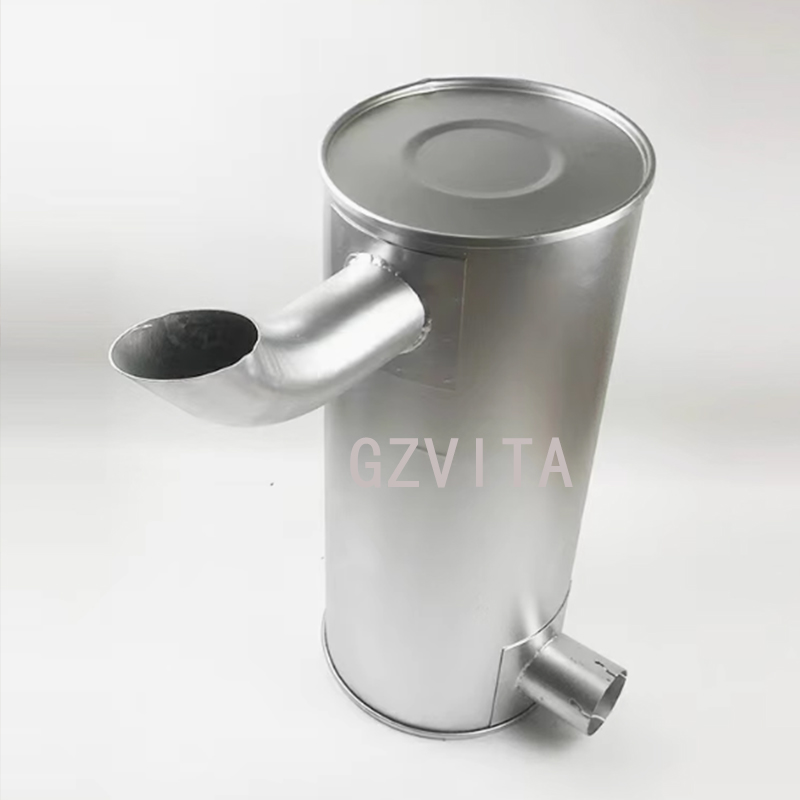
Product Display
-
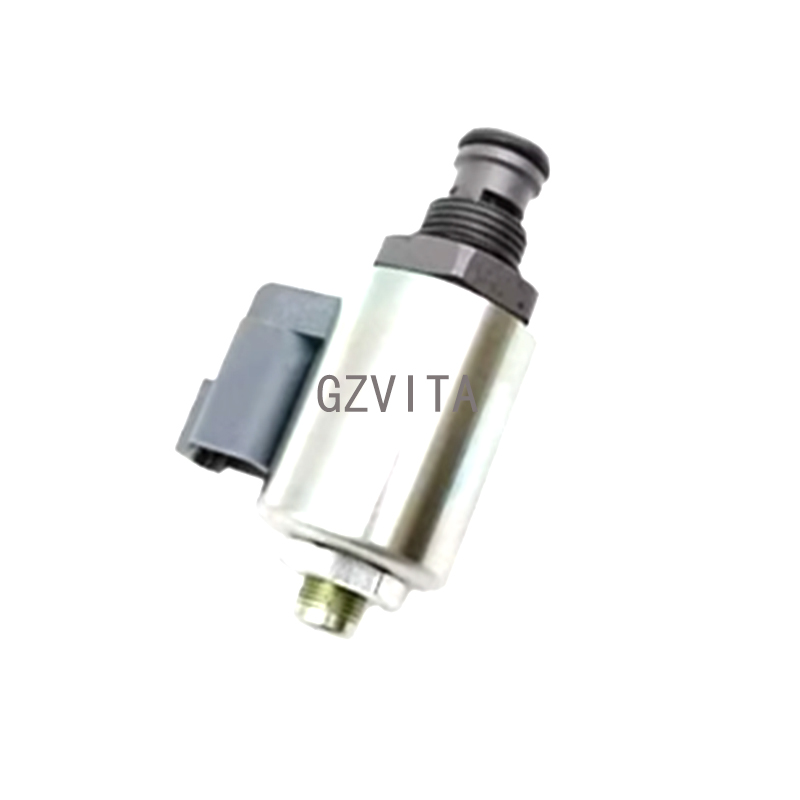
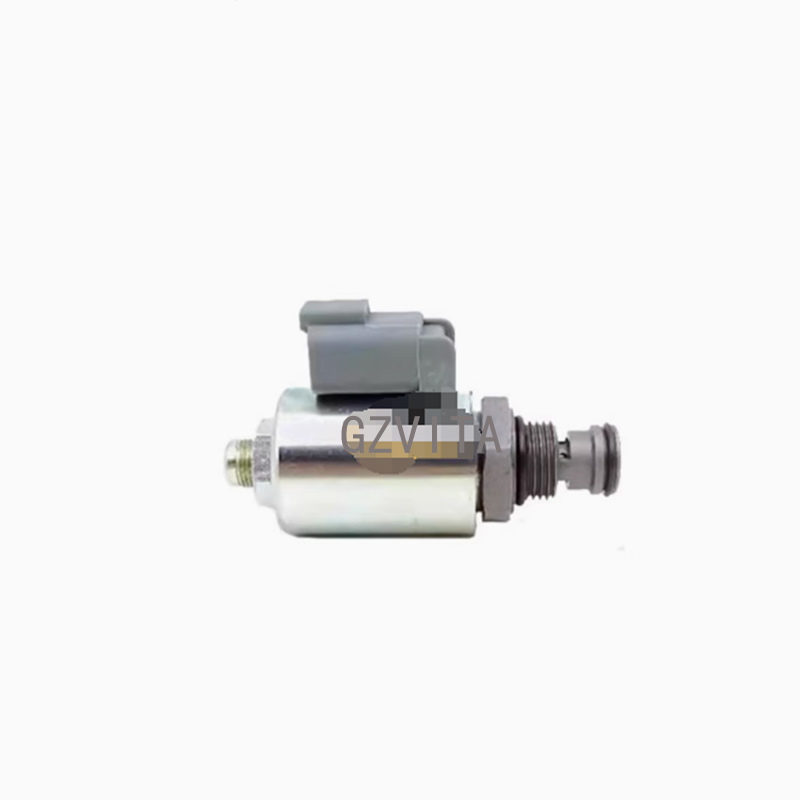
1753893 Solenoid Valve For CAT Grader 12H 12K 120H 143H
-
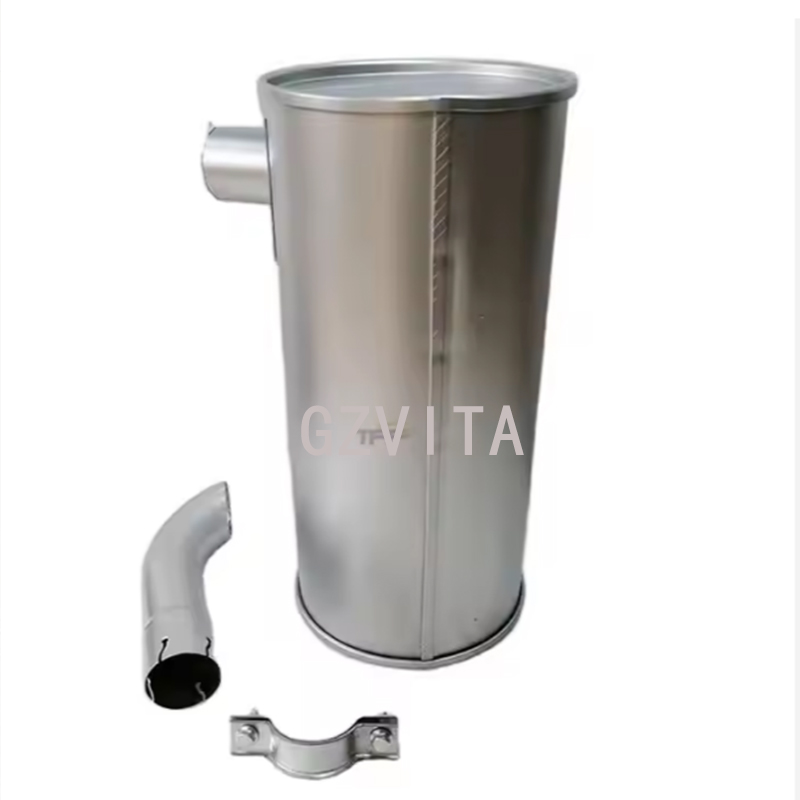
1753893 Solenoid Valve For CAT Grader 12H 12K 120H 143H (01)
-
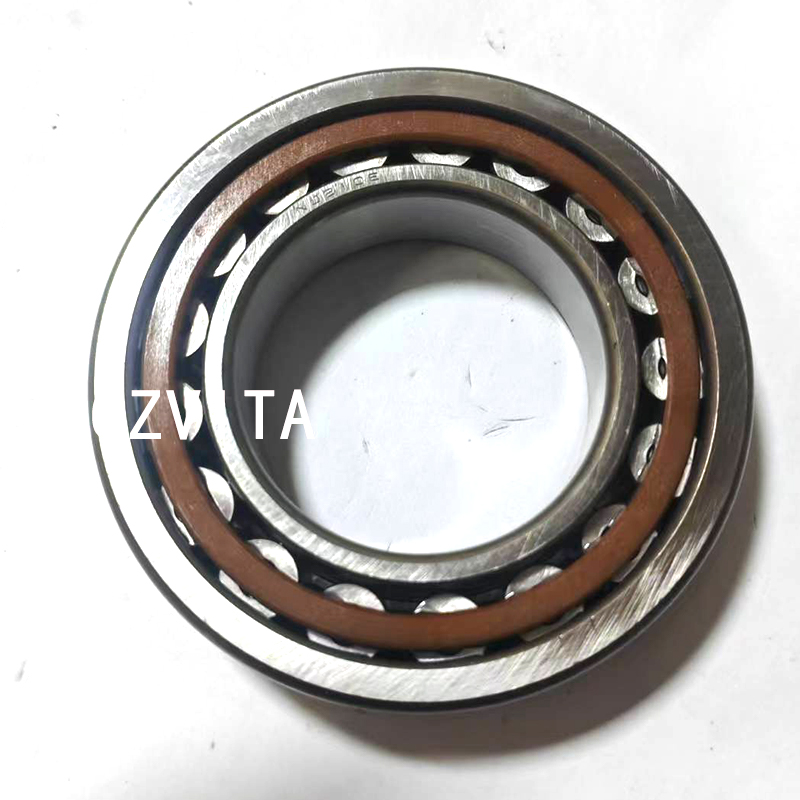
1753893 Solenoid Valve For CAT Grader 12H 12K 120H 143H (02)