 +86 13794985240


0102030405


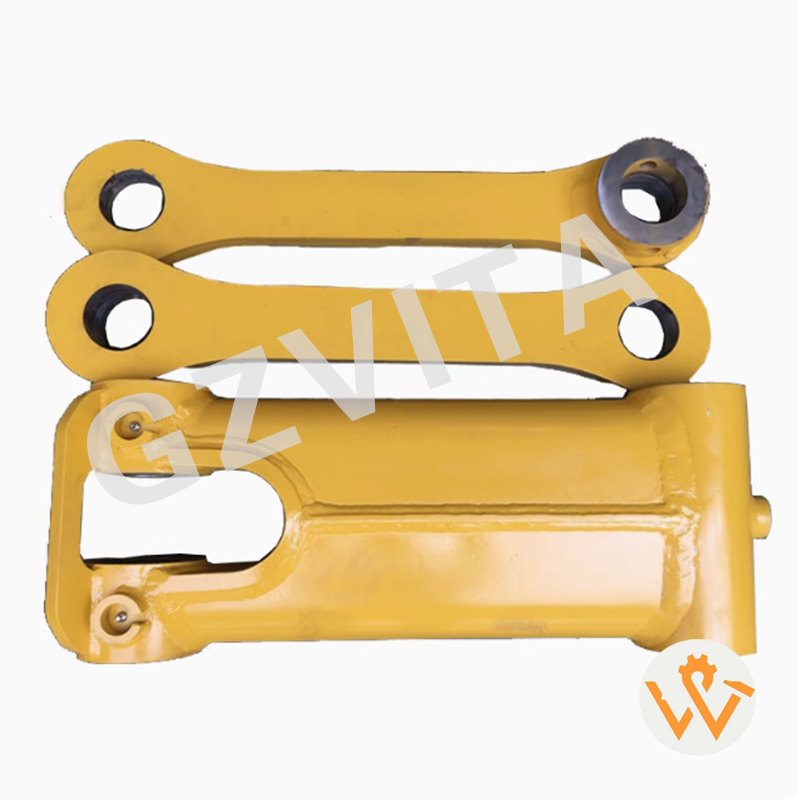
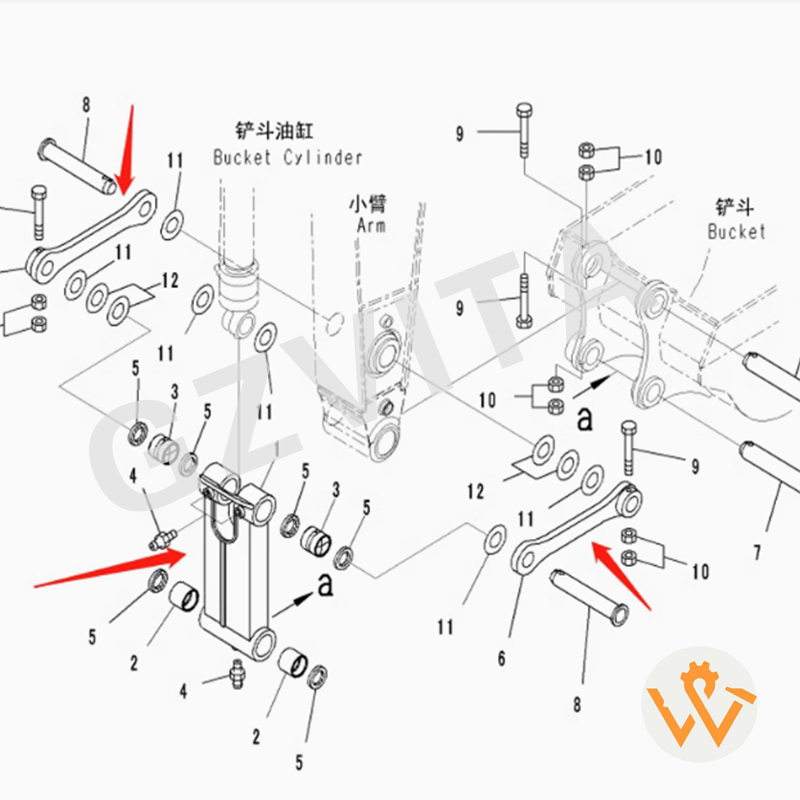
207-70-00470 Bucket Link For Excavator PC360-7 PC300-7 207-70-33120
Product Detail
Installing an excavator bucket link is a crucial task that requires attention to detail and proper technique to ensure the bucket operates effectively. Here’s a step-by-step guide on how to install the bucket link on an excavator:
Product Features
Tools and Materials Needed:
Bucket link
Appropriate bolts and nuts (check specifications for your excavator model)
Wrenches and sockets
Torque wrench
Lubricant (if necessary)
Safety gear (gloves, goggles)
Step-by-Step Installation:
Safety First:
Ensure the excavator is on a stable surface and the engine is turned off. Engage the parking brake and remove the key to prevent accidental operation.
Remove the Old Bucket Link (if applicable):
If you are replacing an old bucket link, start by removing the existing link. Use the appropriate tools to loosen and remove the bolts securing the old link to the bucket and the arm of the excavator.
Inspect Components:
Before installation, inspect the new bucket link and associated components (like pins and bushings) for any damage or wear. Replace any worn parts as necessary.
Position the New Bucket Link:
Align the new bucket link with the bucket and the arm of the excavator. Ensure that the link is oriented correctly according to the manufacturer’s specifications.
Insert the Pins:
Insert the pins through the bucket link and into the bucket and arm. Make sure the pins are fully seated and aligned properly.
Secure with Bolts and Nuts:
Use the appropriate bolts and nuts to secure the bucket link in place. Hand-tighten the bolts first to ensure everything is aligned correctly.
Torque the Bolts:
Using a torque wrench, tighten the bolts to the manufacturer’s specified torque settings. This step is crucial to ensure that the bucket link is securely fastened and can withstand operational stresses.
Lubricate (if necessary):
If the installation requires lubrication, apply the appropriate lubricant to the moving parts of the bucket link to ensure smooth operation.
Test the Installation:
Before putting the excavator back into full operation, perform a test by moving the bucket through its range of motion. Check for any unusual noises or resistance.
Final Inspection:
After testing, perform a final inspection to ensure everything is secure and functioning correctly. Double-check the torque on the bolts if necessary.
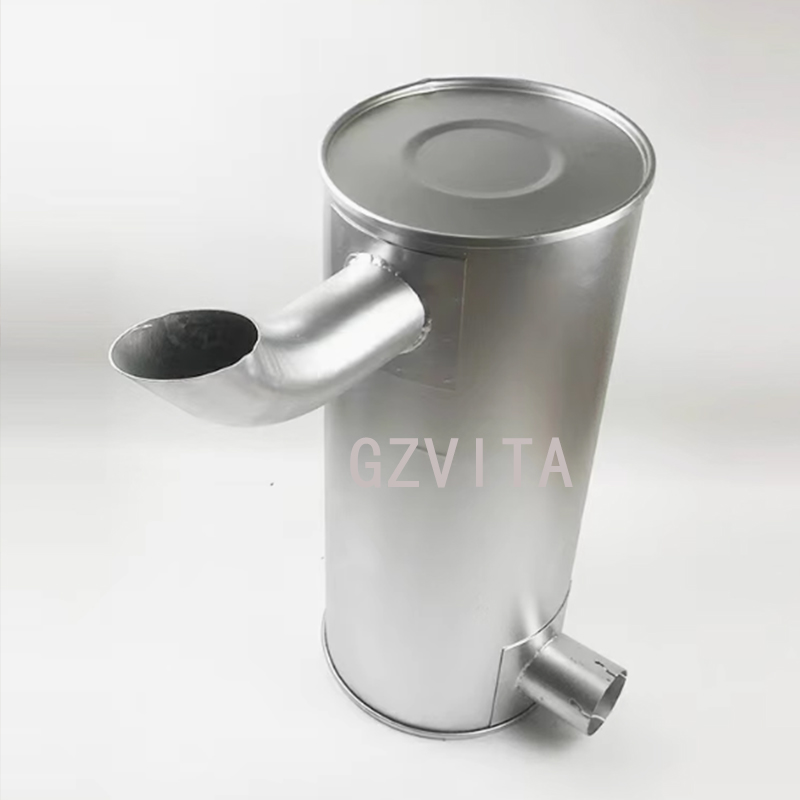
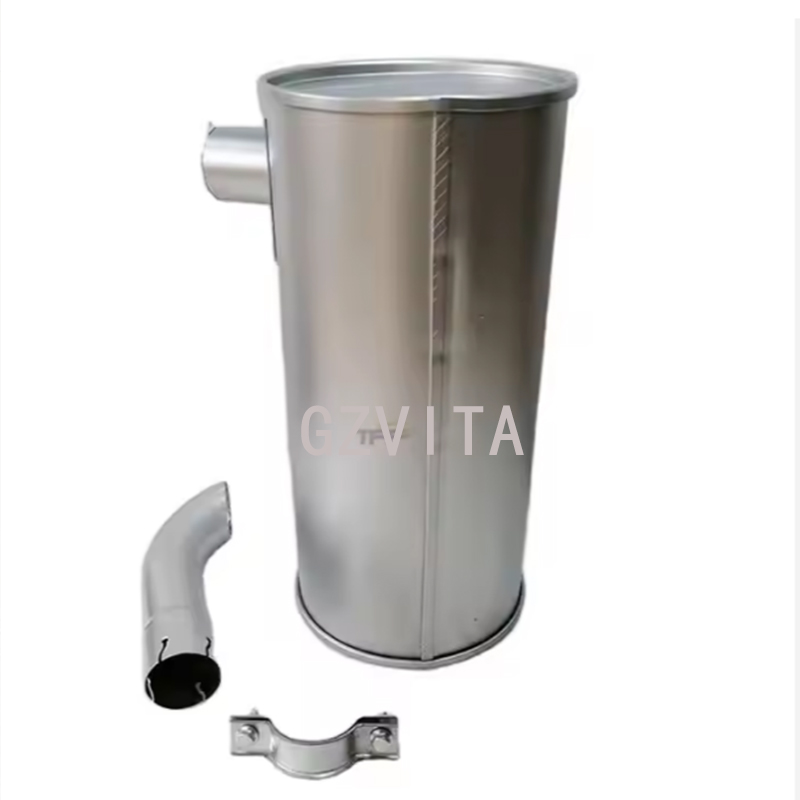
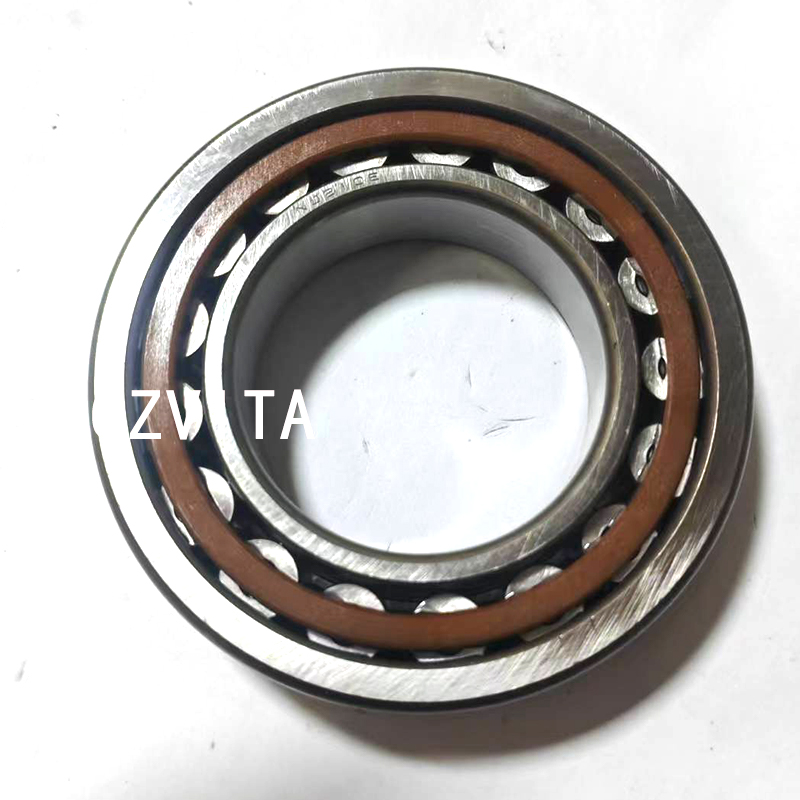
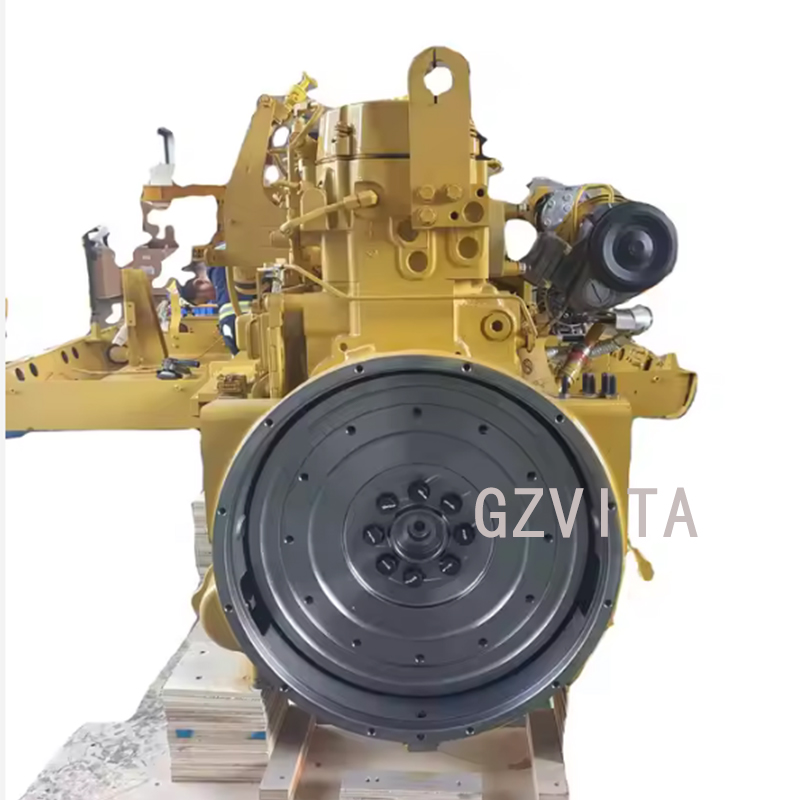
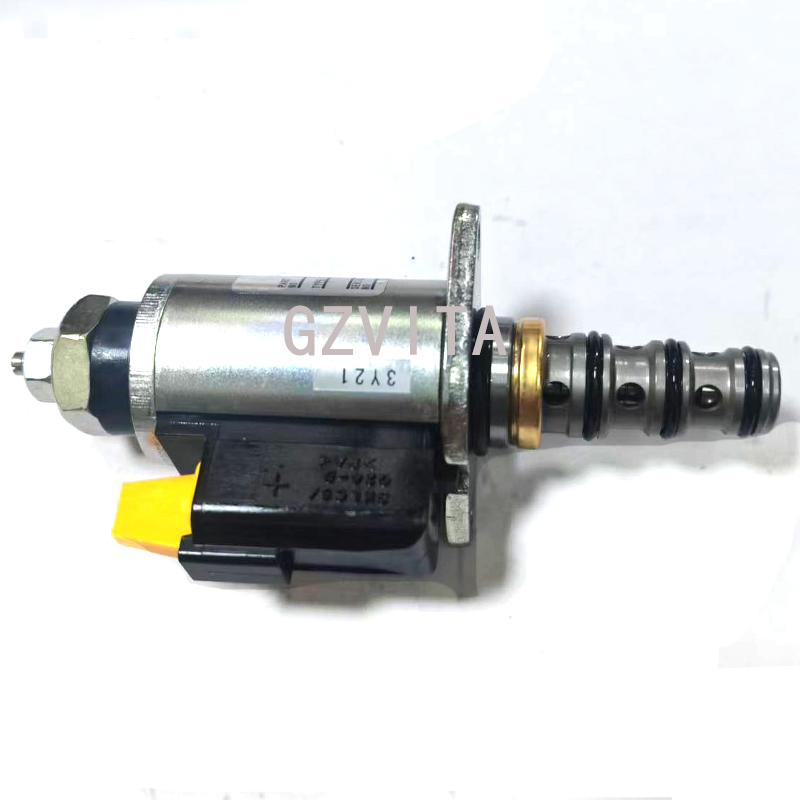
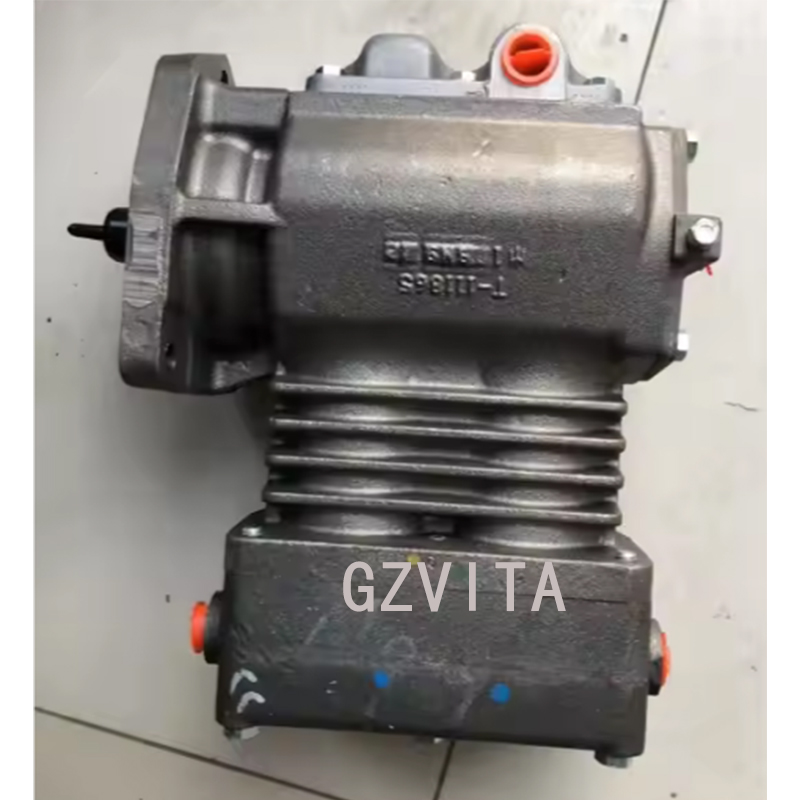
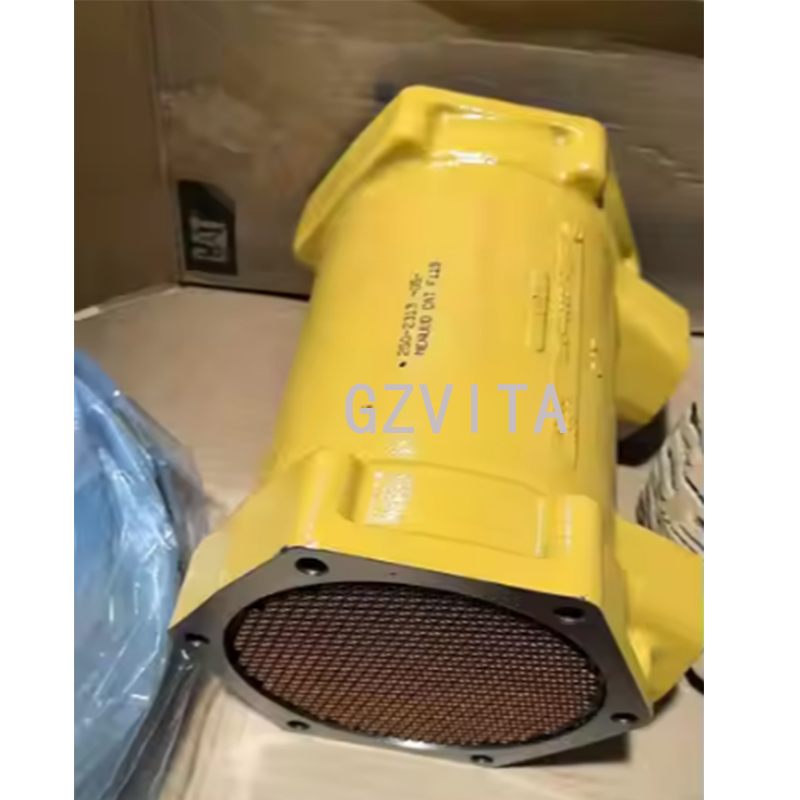
Product Display
-
207-70-00470 Bucket Link For Excavator PC360-7 PC300-7 207-70-33120
-
207-70-00470 Bucket Link For Excavator PC360-7 PC300-7 207-70-33120 (01)
-
207-70-00470 Bucket Link For Excavator PC360-7 PC300-7 207-70-33120 (02)