How to Replace a Cylinder Head Gasket Effectively?
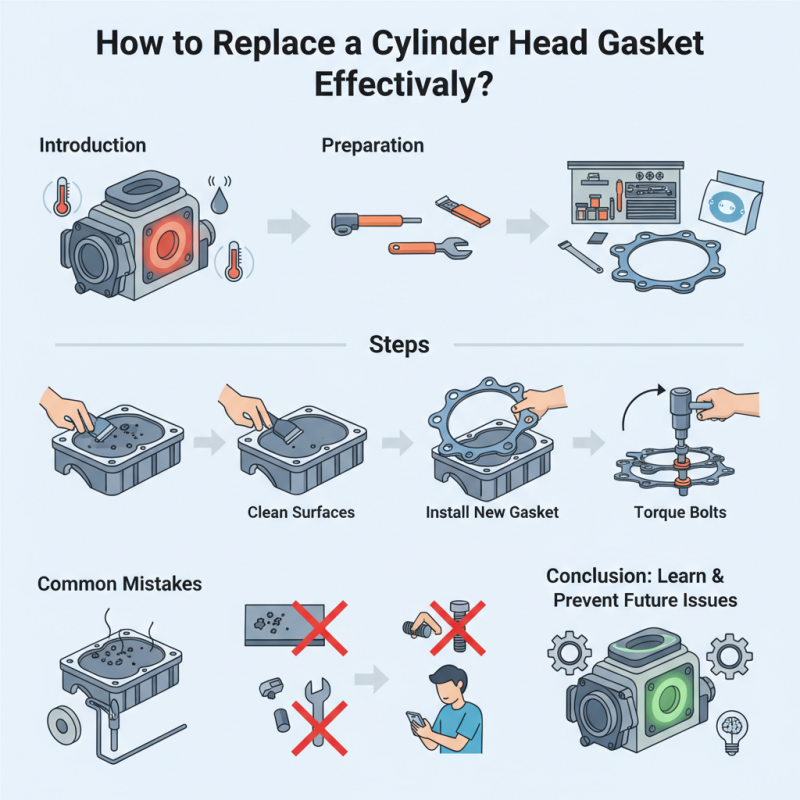
Replacing a Cylinder Head Gasket can seem daunting. This critical component seals the engine's cylinder head to the block. A failing gasket can lead to serious engine damage, such as overheating and coolant leaks.
Before starting the replacement, ensure you have the right tools. An accurate workspace can save time and frustration. You’ll need a torque wrench, gasket scraper, and the new gasket. This process requires attention to detail and patience. Many skip steps, leading to mistakes.
Carefully clean the surface before installation. Any debris can compromise the new Cylinder Head Gasket. It is essential to torque the bolts correctly. Improper torque can cause future leaks. Stay focused throughout the process; distractions may lead to errors. Replacing a Cylinder Head Gasket is not just a task; it's an opportunity for learning.
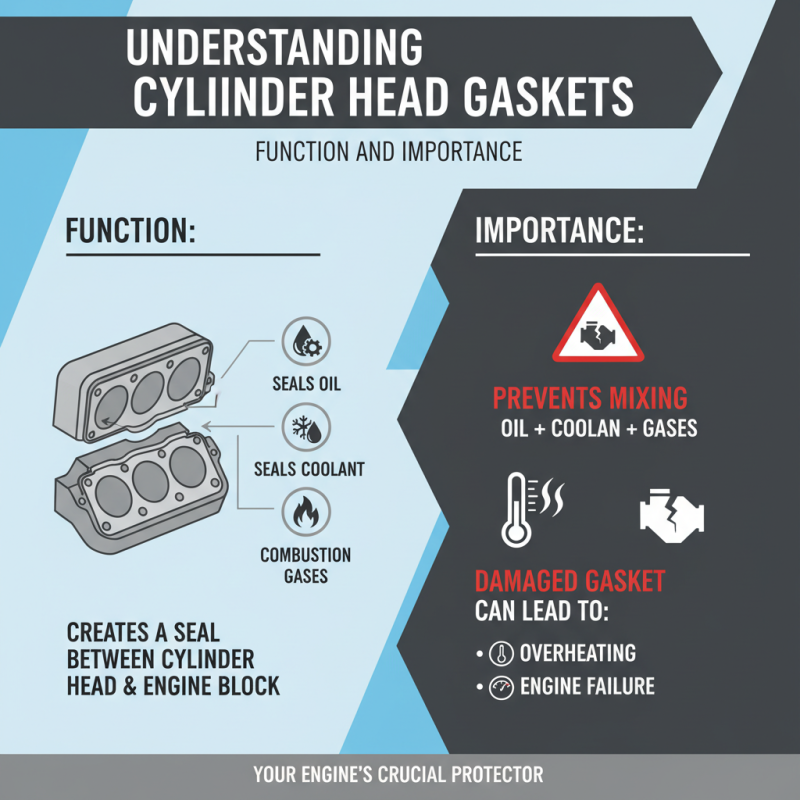
Understanding Cylinder Head Gaskets: Function and Importance
Cylinder head gaskets play a crucial role in engine performance. They create a seal between the cylinder head and the engine block. This seal prevents oil, coolant, and combustion gases from mixing. A damaged gasket can lead to overheating and engine failure.
Understanding the function of a cylinder head gasket is vital. It withstands high temperatures and pressures during operation. A reliable gasket helps maintain optimal engine performance. Drivers often overlook this component until a problem arises. Regular inspections can prevent costly repairs and ensure longevity.
When a gasket fails, it may cause noticeable symptoms. You might see coolant leaks or decreased engine power. In some cases, it leads to a blown engine. Identifying issues early can save time and money. Ignoring it can result in severe damage. It's essential to address any signs promptly. Trusting your engine's integrity starts with understanding its components.
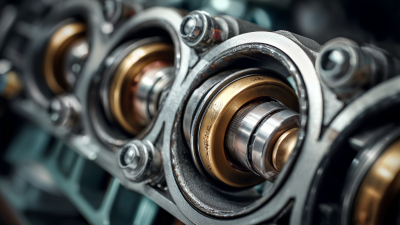
Identifying Signs of a Failing Cylinder Head Gasket
Identifying a failing cylinder head gasket can save you from costly repairs. Look for signs of coolant leaks. This may appear as a puddle under your vehicle. Overheating is another major red flag. If your engine temperature gauge frequently rises, don't ignore it. This problem could rapidly worsen if left unchecked.
Another common symptom is milky engine oil. If you check the oil dipstick and see a creamy substance, it indicates coolant contamination. Engine misfires, leading to rough idling, are also concerning. They may stem from a poor seal on the gasket, disrupting engine performance.
Some drivers may also notice excessive exhaust smoke. White smoke in particular is a sign of burning coolant. Pay attention to unusual sounds too. If your engine is knocking or pinging, investigate quickly. These signs should prompt immediate action and a thorough inspection. Delaying repairs could result in severe damages. Reflect on these details as you monitor your vehicle's performance.
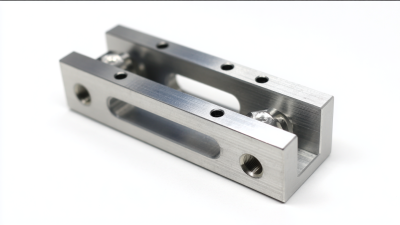
Essential Tools and Materials for a Successful Replacement
When replacing a cylinder head gasket, having the right tools and materials is crucial. A comprehensive report from the Automotive Service Association reveals that about 70% of engine failures can be traced back to improper installation of components, including gaskets. Ensuring you have essential tools can mitigate these risks. First, invest in a quality torque wrench. This tool allows for accurate tightening of bolts. A common oversight is not using this tool correctly, which may lead to gasket leaks.
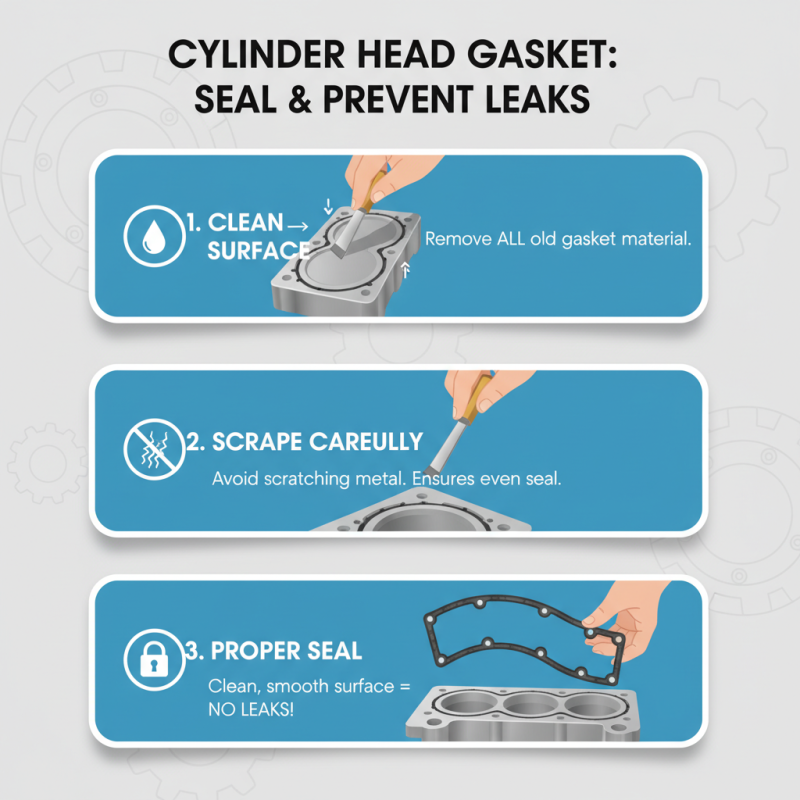
You’ll also need a gasket scraper. A clean surface is vital for a proper seal. Ensure any remnants of the old gasket are removed. Using a soft brush can help, but many amateurs forget this step. An incorrect surface can cause premature failure of the new gasket. Consider a complete gasket set that includes seals for other components. This can save you time and prevent future issues.
Don’t neglect to use thread sealant correctly on bolts. It prevents leaks and enhances durability. Also, check torque specifications; being off by even a small amount can cause problems. Some mechanics skip checking their work, leading to costly repairs down the line. Always revisit your process and ensure nothing is overlooked. Attention to detail can make a significant difference in the success of your gasket replacement.
Essential Tools and Materials for Replacing a Cylinder Head Gasket
Step-by-Step Process for Replacing a Cylinder Head Gasket
Replacing a cylinder head gasket can seem daunting, but a clear step-by-step process can make it manageable. Start by gathering necessary tools: a torque wrench, socket set, and a cleaning brush. The average cost of this repair can reach $1,500 to $2,000, according to industry reports. Eliminating leaks and restoring engine performance matters.
Begin by disconnecting the battery. Drain the coolant and remove the intake manifold. Be cautious; damaged components may increase repair costs. Check for warping on the cylinder head with a straightedge. The torque specifications will be crucial here. Most engines require a specific pattern for tightening bolts. Ignoring this can lead to future leaks.
Tips: Ensure that you clean all surfaces thoroughly. Any debris can compromise the new gasket. Use a new gasket and avoid reusing an old one. Torque specifications vary between engines. Review your vehicle's service manual. A small oversight might lead to severe engine issues later. Use a digital torque tool for precision. This is surprisingly effective and prevents common mistakes.
How to Replace a Cylinder Head Gasket Effectively?
| Step |
Description |
Tools Required |
| 1 |
Remove engine components access to the cylinder head. |
Socket set, Wrench set |
| 2 |
Drain the engine coolant and oil. |
Drain pan, Pliers |
| 3 |
Detach the cylinder head from the engine block. |
Torque wrench, Screwdriver set |
| 4 |
Clean the mating surfaces thoroughly. |
Scraper, Cleaning solvent |
| 5 |
Install the new head gasket carefully. |
Head gasket, Torque wrench |
| 6 |
Reattach the cylinder head and tighten bolts to specification. |
Torque wrench |
| 7 |
Reassemble engine components and refill fluids. |
Coolant, Engine oil, Hand tools |
| 8 |
Start the engine and check for leaks. |
None |
 +86 13794985240
 CONTACT NUMBER
 CONTACT NUMBER