 +86 13794985240


0102030405
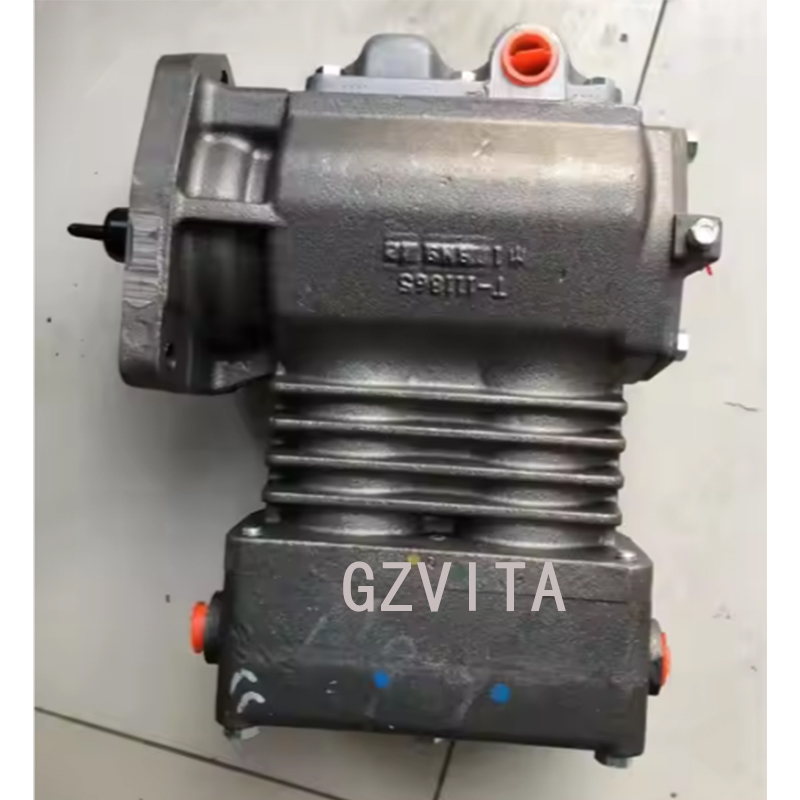


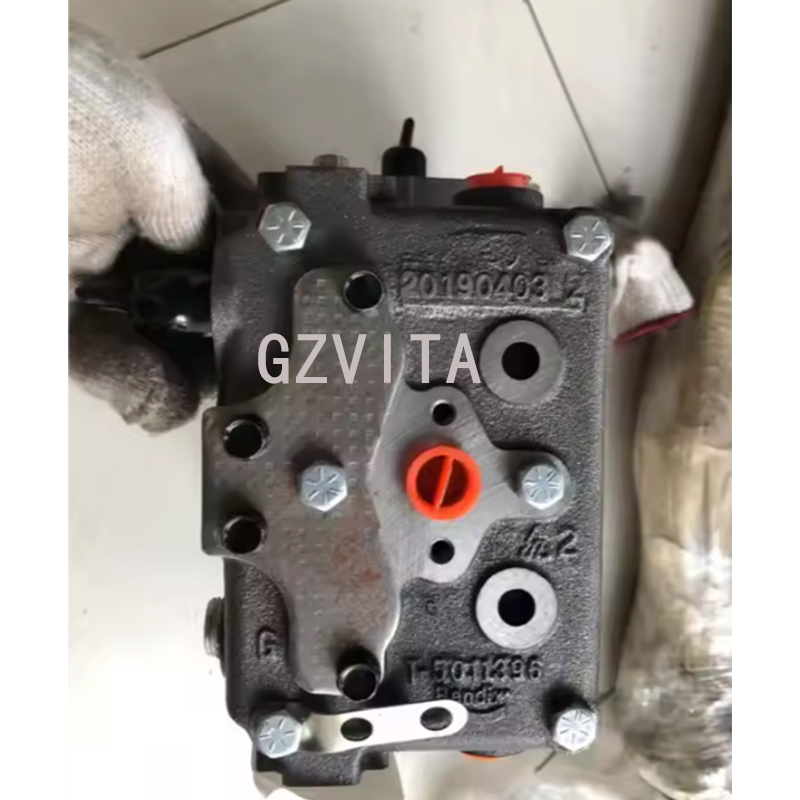

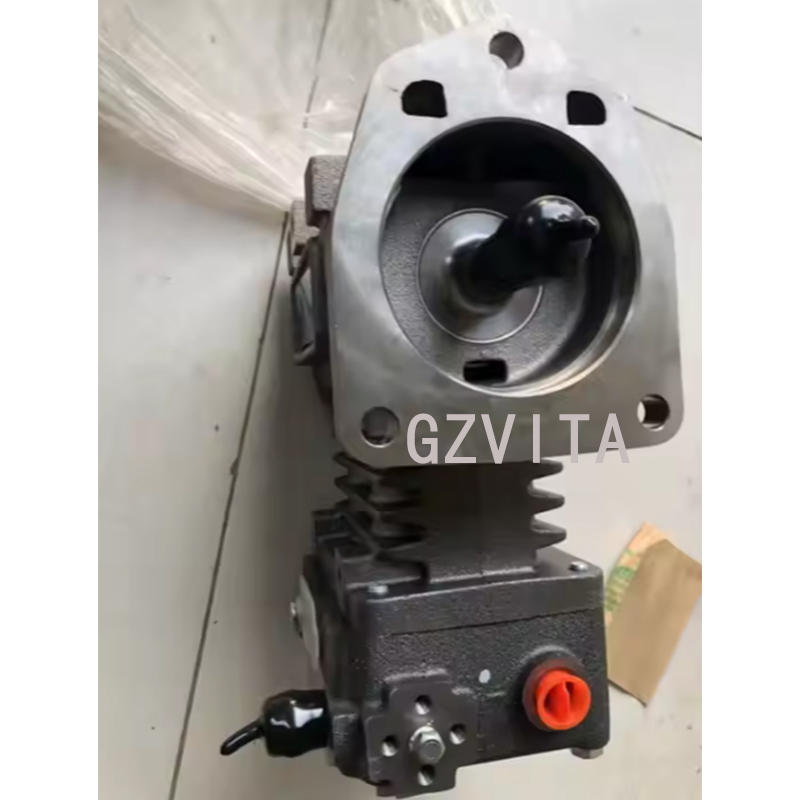


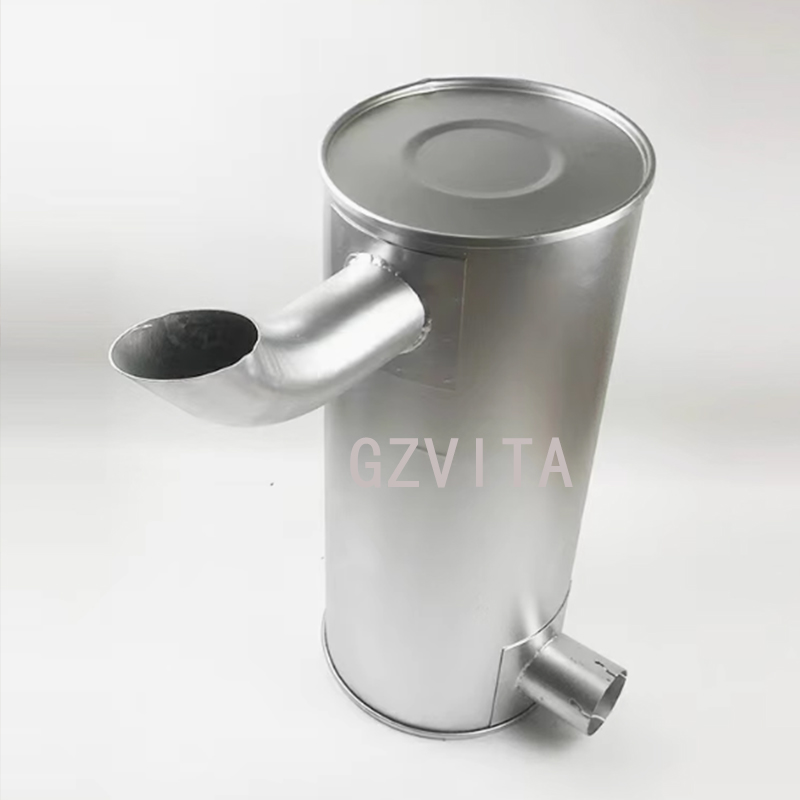
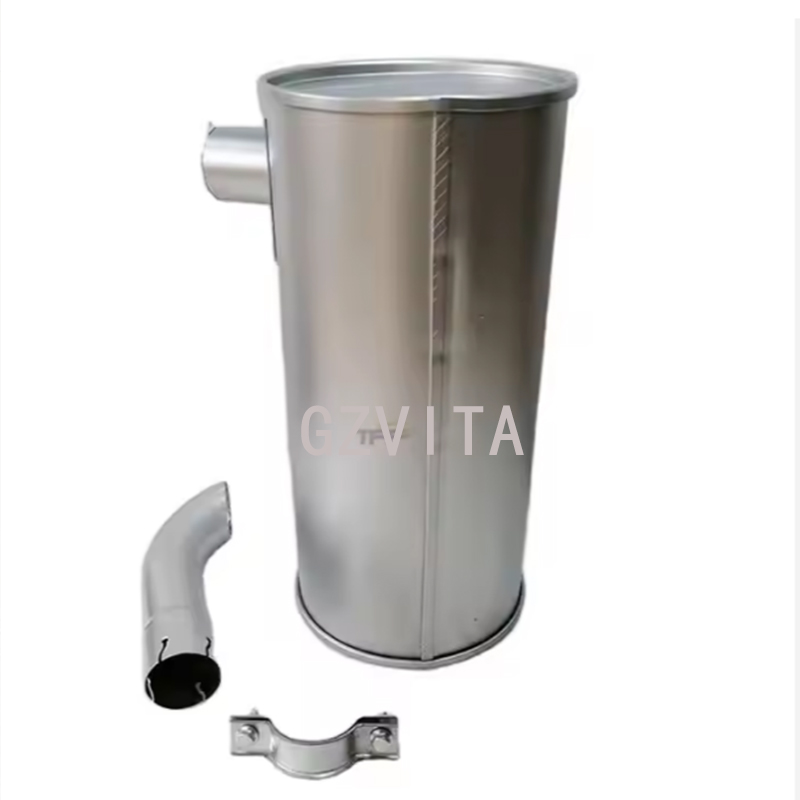
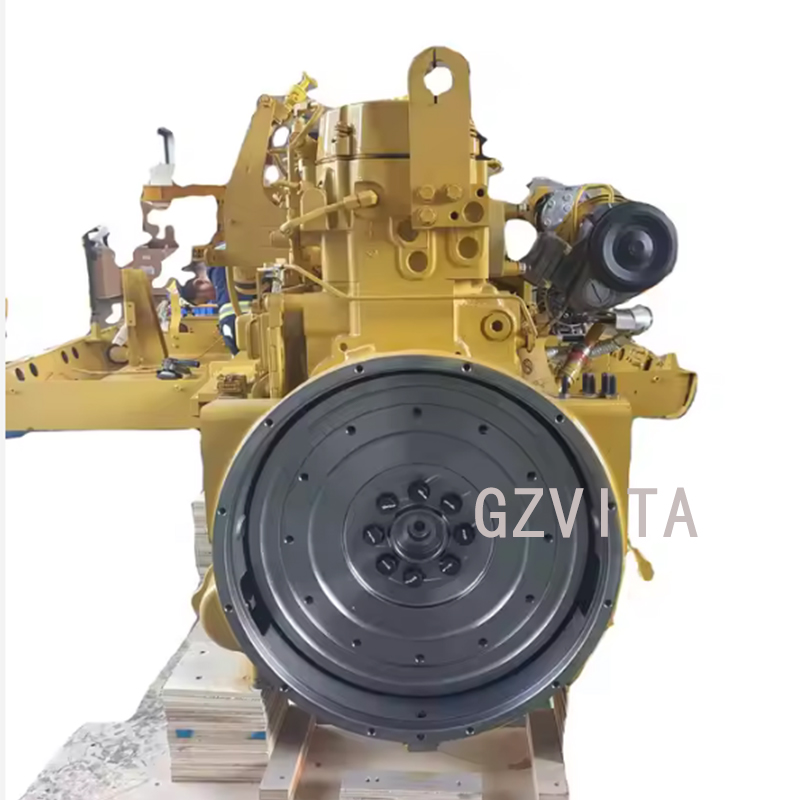
Turbocharger GP 3522396 For Motor Grader 120K 140K 160K
How to Assemble the Turbocharger to a Motor Grader?
Assembling a turbocharger to a motor grader, such as the Caterpillar 14M or 16M, is a critical task that requires attention to detail and adherence to proper procedures. The turbocharger plays a vital role in enhancing engine performance by increasing air intake, which improves combustion efficiency. Below is a step-by-step guide on how to assemble the turbocharger to a motor grader.
Tools and Materials Needed
Turbocharger assembly
Gaskets and seals (specific to the turbocharger model)
Torque wrench
Socket set
Screwdrivers
Pliers
Engine oil (for lubrication)
Clean rags
Safety gloves and goggles
Step-by-Step Assembly Process
Preparation:
Ensure the engine is cool and the motor grader is parked on a level surface.
Disconnect the battery to prevent any electrical issues during the assembly process.
Remove any components that may obstruct access to the turbocharger, such as the air intake duct or exhaust manifold.
Inspect the Turbocharger:
Before installation, inspect the turbocharger for any signs of damage or wear. Check the turbine and compressor wheels for any debris or damage.
Ensure that all necessary gaskets and seals are available and in good condition.
Lubricate the Turbocharger:
Apply a small amount of engine oil to the oil inlet and outlet ports of the turbocharger. This helps ensure proper lubrication during the initial startup.
Position the Turbocharger:
Carefully position the turbocharger onto the mounting flange of the exhaust manifold. Ensure that the alignment is correct and that the mounting holes are lined up.
Install Gaskets:
Place the appropriate gasket between the turbocharger and the exhaust manifold. Ensure that the gasket is properly seated to prevent exhaust leaks.
Secure the Turbocharger:
Using the appropriate bolts, secure the turbocharger to the exhaust manifold. Start by hand-tightening the bolts to ensure even pressure, then use a torque wrench to tighten them to the manufacturer’s specified torque settings. Refer to the service manual for the correct torque specifications.
Connect Oil Lines:
Attach the oil inlet and outlet lines to the turbocharger. Ensure that the connections are tight and that the seals are properly seated to prevent oil leaks.
Install the Air Intake:
Connect the air intake duct to the compressor side of the turbocharger. Ensure that the clamps are secure and that there are no obstructions in the airflow.
Connect the Exhaust:
If applicable, connect the exhaust pipe to the turbine side of the turbocharger. Again, ensure that all connections are secure and that gaskets are in place to prevent leaks.
Final Checks:
Double-check all connections, bolts, and fittings to ensure everything is secure.
Reinstall any components that were removed to access the turbocharger.